







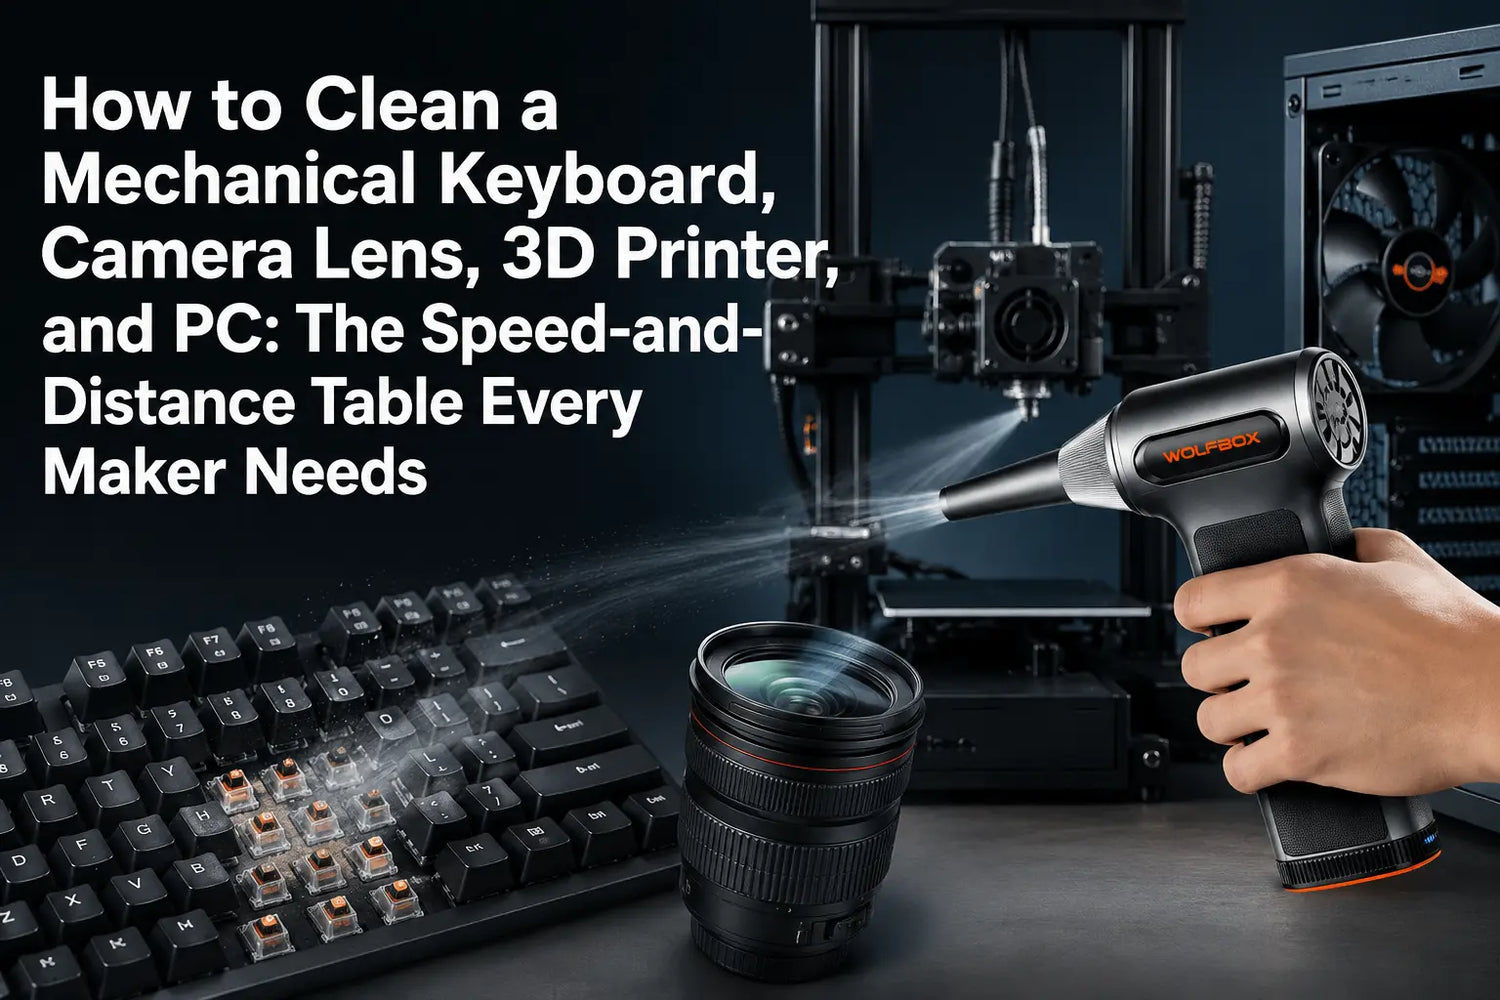
Applying the wrong setting to the wrong device is where cleaning goes wrong. A camera lens coating can degrade under sustained high-speed airflow from 2 inches. A 3D printer nozzle can shift calibration if hit perpendicular at full speed. The difference between correct and incorrect technique is speed setting, nozzle distance, and angle — not just which tool you use. [6]
This guide covers four device categories with specific settings for each. The WOLFBOX MF200's three-speed system maps directly to the settings below. [1]
Settings Reference Table by Device
| Device / Component | MF200 Setting | Distance | Angle | Key Caution |
| Camera lens / optics | Lowest speed | 5–6 inches | One brief pass | Use proper lens tools for glass |
| PCB / circuit board | Lowest speed | 5–6 inches | Low-angle sweep | Power off and dry first |
| Keyboard, keycaps installed | Low to medium speed | 2–3 inches | 45 degrees between rows | Use short bursts |
| Keyboard, keycaps removed | Low to medium speed | 2 inches | Along switch rows | Avoid prolonged close-range airflow |
| 3D printer nozzle / hot end | Medium speed | 3–5 inches | Tangential | Never blow directly into the nozzle |
| 3D printer extruder gear | Medium speed | 3 inches | Parallel to gear axis | Rotate the gear manually |
| 3D printer PEI / glass bed | Low to medium speed | 4 inches | Low-angle sweep | Avoid close-range high speed |
| PC GPU heatsink fins | Medium to high speed | 3–4 inches | Through the fin stack | Hold nearby fan blades still |
| PC case fans | Low to medium speed | 3–4 inches | Axial approach | Hold fan blades still |
| PC CPU tower cooler | Medium to high speed | 3–5 inches | Both directions | Clear loosened dust from the case |
How to Clean a Mechanical Keyboard
Surface Clean (No Keycap Removal)
Set the MF200 to mid speed. [1] Hold the nozzle at 45 degrees between key rows, 2–3 inches above the surface. Apply 1–2 second bursts across each row. Rotate the keyboard 180 degrees and repeat. Flip the board upside down and shake to clear dislodged debris.
Deep Clean (Keycaps Removed)
Remove keycaps with a puller. With switches exposed, direct low-to-medium-speed bursts at switch stems from 2 inches at a 45-degree angle. Work in rows. A tangential direction along switch rows ejects debris from the row end rather than recirculating it. [2]
How to Clean a Camera Lens
One Rule That Overrides Everything
Keep the MF200 on its lowest speed for optical glass, and never hold the nozzle closer than 5 inches. Camera lens coatings — anti-reflective, UV, multi-coat — are not designed for sustained high-speed airflow. Correct procedure:
- Set MF200 to low speed
- Hold nozzle 5–6 inches from the front element
- One short perpendicular burst to dislodge loose dust
- If dust remains, use a lens pen or optical microfiber for contact cleaning
- Never apply air to a wet lens surface — it drives moisture into the barrel
How to Clean a 3D Printer
Nozzle and Hot End
Always approach at a tangential angle — parallel to the nozzle axis — at medium speed from 3–5 inches. Never blow perpendicular into the nozzle opening. For brass nozzles, two to three short tangential bursts from multiple angles clears most surface residue. [2]
Extruder Gear
Apply a medium-speed burst parallel to the gear axis from 3 inches while manually rotating the extruder. The combined action of air and rotation clears material from gear pockets more effectively than static air alone.
Print Bed
For PEI and glass beds, a low-angle low-to-medium-speed sweep at 4 inches clears loose debris before a print. Avoid high-speed close-range use on textured PEI surfaces.
How to Clean a PC
Before You Start
Power off and unplug. Ground yourself before touching internal components. For components near capacitors or the BIOS battery, use low-to-mid speed. Never apply air to spinning fans — hold blade still with a finger or toothpick first. [4]
GPU Heatsink
Hold the nozzle perpendicular to the heatsink fins at 3–4 inches, mid-to-high speed, in 1–2 second bursts. Rotate the card to blow through from both fin faces — single-direction cleaning leaves debris compacted in the fin stack center.
CPU Tower Cooler
Blow through the fin stack from both directions at medium-to-high speed from 3–5 inches. The two-pass approach dislodges dust embedded deep in the fin stack that a single-direction pass misses.
What Not to Clean With an Air Duster
- Powered-on electronics: always power off and unplug first
- Wet surfaces: air spreads liquid and can drive moisture into components
- Inkjet printer heads: require manufacturer-specified cleaning procedures, not air
- Speakers with paper cones at high speed from under 3 inches: cone damage risk
- Open hard drives: any particulate entry causes drive failure
Matching Speed Mode to Task
The MF200's three speed modes correspond directly to the tasks in this guide: low speed for optics and PCBs; medium speed for keyboards and extruder gears; high speed for GPU heatsinks, CPU coolers, and car vents. The speed selector handles the transition between tasks — no attachment changes required. [1][3] [5][8]
Frequently Asked Questions
Q: What speed setting should I use to clean a mechanical keyboard?
A: Low-to-medium speed at 2–3 inches at a 45-degree angle for surface cleaning. For deep cleaning with keycaps removed, low-to-medium speed at 2 inches directed at switch stems.
Q: Can I use an air duster on a camera sensor?
A: Use maximum care — low speed only, 6 inches minimum distance, one short burst. For sensor cleaning, most photographers use a manual bulb blower or sensor swab. If using the MF200, low speed at 6+ inches is the only appropriate setting.
Q: Why not blow directly into a 3D printer nozzle?
A: Perpendicular airflow can push residue into the hot end and displace nozzle calibration. Always use a tangential approach parallel to the nozzle axis.
Q: How do I prevent PC fans from overspin during cleaning?
A: Hold fan blades still with a finger or toothpick before applying air. Bearing damage from overspin is the most common hardware injury from air duster use on PCs.
Q: How often should I clean my PC with an air duster?
A: Every 3–6 months for most home environments. Every 6–8 weeks in dusty environments. Visible dust on heatsink fins is the clearest indicator.
References
- [1] WOLFBOX MF200 Official Product Page: https://wolfbox.com/products/compressed-air-duster-mf200
- [2] WOLFBOX Air Duster Cleaning Guide: https://wolfbox.com/blogs/air-duster/wolfbox-air-duster-review
- [3] WOLFBOX Electric Air Duster vs. Canned Air Guide: https://wolfbox.com/blogs/air-duster/electric-air-duster-vs-canned-air-cost-consistency-and-what-happens-when-the-can-runs-cold
- [4] WOLFBOX Best Electric Air Duster for PC Guide: https://wolfbox.com/blogs/air-duster/best-electric-air-duster-pc-2026
- [5] WOLFBOX Air Duster Collection: https://wolfbox.com/collections/best-air-duster
- [6] WOLFBOX MF200 Six-Month Use Guide: https://wolfbox.com/blogs/air-duster/the-wolfbox-mf200-air-duster-a-6-month-hands-on-perspective
- [8] WOLFBOX Best Cordless Air Duster Guide 2026: https://wolfbox.com/blogs/air-duster/best-cordless-air-duster-in-2026-top-picks-for-every-use-case



Leave a comment
This site is protected by hCaptcha and the hCaptcha Privacy Policy and Terms of Service apply.