





WOLFBOX Brands
WOLFBOX Brands
Car owners and rideshare drivers are increasingly looking into dash cam installations. Buying a quality model means you’re bound to spend more. That’s when consumers on a budget start seeking low-cost installation methods.
From pricey professional setups to minimal DIY measures, there are many options. And this article breaks down everything necessary on the dash cam installation cost. It discusses the expense not only in dollars but also in value.
Table of contents
Front-only cams remain the simplest regarding installation (usually plug-and-play). Dual-channel cams (front + rear) call for more wiring, especially for routing cables to the back. A mirror dash cam with a rear camera can make installation slightly complex. Three-channel cams (front, rear, and interior) require the most intricate actions. It may need multiple camera placements and extensive wiring.
Plug-in installations (via cigarette lighter) seem cheaper and faster. Hardwired setups (connected to the fuse box) are more expensive. Still, they offer features like parking mode and cleaner cable management.
Larger vehicles, such as SUVs or trucks, require longer cables. Additional route wiring increases labor costs. Luxury or high-tech cars (such as Tesla and BMW) must retain their sensitive electronics.
Labor costs vary by region. For example, installation in London or New York may cost more than in smaller cities. Some installers charge a flat fee, while others charge by the hour ($50–$100 per hour).
Features like GPS, Wi-Fi, parking surveillance, or cloud connectivity may require additional wiring. It contributes to increased complexity, inducing further expenses.
Do-it-yourself methods can save money. However, risks associated with improper setup or voiding warranties remain high. Professional installation ensures optimal camera angles, hidden wiring, and safe power connections.
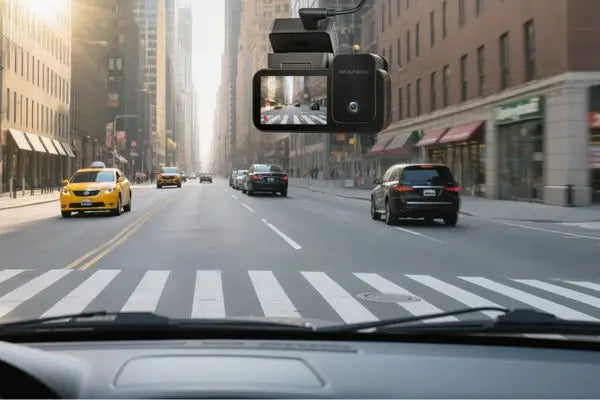
Installing a front dash cam is simple, effortless, and affordable. The single-lens camera remains mounted on the windshield. A cigarette lighter or hardwiring connection powers up the cam for a cleaner look.
Dual-channel dash cam recording offers more comprehensive coverage. Installation is more complex due to routing cables for the rear window.
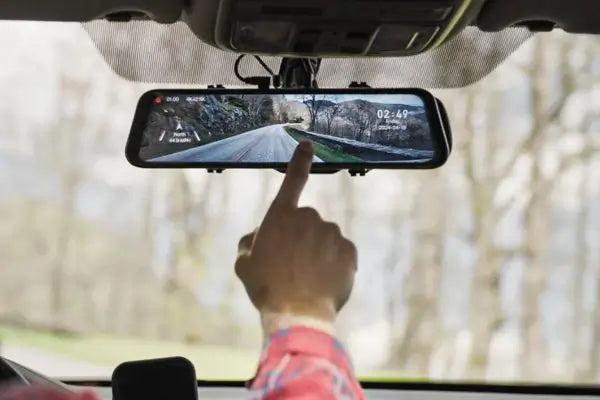
They replace or clip over your existing rearview mirror. Setup, especially with a rear cam, requires careful alignment and wiring.
Hardwiring connects the dash cam directly to the vehicle’s fuse box. It enables features like parking mode and cleaner cable management. This method incorporates a permanent and professional look.
The connection of a dash cam to the vehicle’s fuse box is like a bypass. You don’t have to plug it into the cigarette lighter socket. Hardwiring allows the camera to draw power even when the engine is off.
You should spend more extra cash on hardwiring when you –
Read more: Hardwired vs Plug-In Dash Cam: Which One Should You Choose
Toyota cars are well-known for straightforward electrical systems and accessible fuse boxes. It makes Toyota dash cam installations cost low with a relatively simple process.
Toyota’s Safety Sense system doesn’t interfere with most dash cams. But it’s best to avoid mounting near the forward-facing radar sensor.
Honda models are generally compatible with dash cams. Some models (like the Civic Touring or Accord Hybrid) have tighter trim panels that require extra care.
Honda Sensing systems require careful camera placement at the start. Otherwise, you may end up obstructing lane-keeping sensors.
Ford vehicles range from compact sedans to large trucks. Therefore, installation costs vary significantly.
Trucks like the F-150 often require longer cables and more labor. It’s due to the enormous size and trim complexity.
Porsche vehicles are luxury machines with tightly integrated electronics. The same applies to its sensitive trim, making the installation process even more delicate.
Porsche’s CAN bus system is incredibly sensitive. Professional installers use battery discharge prevention modules to avoid warranty issues.
Tesla vehicles come with built-in dash cam functionality (TeslaCam). Many owners still opt for 3rd-party systems for video quality or cabin monitoring.
Tesla’s minimalist interior and integrated cameras require careful planning. Installers choose OBD-II or rearview mirror power taps to avoid interfering with the autopilot.
Luxury and tech set BMW vehicles apart from others. It also comes with more complex wiring and trim disassembly.
BMW’s iDrive system and ADAS sensors require precise placement of the dash cam. You’ll also need non-intrusive wiring to avoid warranty issues.
Labor costs in major cities (Los Angeles, NYC, or London) are high due to increased overhead. In contrast, rural or suburban parts feature more affordable rates. Professional installation in California can range from $150 to $300. Meanwhile, the same service may cost $90–$180 across the Midwest (Ohio or Iowa).
Certified installers have higher demand in high-traffic and tech-savvy consumer cities (San Francisco, Tokyo). It can drive up the overall pricing. Fewer installers mean limited options, which also lowers the competition. Therefore, the rates remain modest.
Areas with many luxury or EV vehicles (California, Dubai) see higher costs. The complexity of cars directly contributes to increased rates. Installing a three-channel dash cam in a Tesla Model Y in San Jose costs between $300 and $350. But the same setup in Kansas City may remain closer to $200–$250.
Some regions offer insurance discounts for the use of dash cams. It increases demand while affecting the price. Insurers offer premium reductions for professionally installed dash cams in the UK. It’s partially true in high-traffic areas, such as London.
Paying for professional services doesn’t mean covering the labor. It’s an investment in precision, safety, and long-term reliability. A top-tier installation should offer the following services with professionals –
Professional installation can cost $100-$250 based on the complexity and location. Employing DIY can reduce the cost to $20–$50. Working for 1-3 hours (depending on setup) means no labor fees.
Step #01: Setup Plan – Fix the camera placement (behind the rearview mirror). Identify the fuse box to decide on the cable routing path.
Step #02: Mounting the Cam – Properly clean the windshield area with alcohol wipes. Attach the mount and secure the camera.
Step #03: Routing the Power Cable – Tuck the cable along the headliner, down the A-pillar, and toward the fuse box. Don’t route cables directly over the airbags.
Step #04: Identifying Fuses – Use a multimeter or fuse tester. Find the ACC fuse and the constant fuse. Select the fuse taps to connect the hardwire kit.
Step #05: Grounding the Wire – Locate a metal bolt near the fuse box. Securely attach the ground wire to ensure stable power.
Step #06: Testing the System – Turn on the ignition to check whether the dash cam powers up. Also, test the parking mode by turning off the engine.
Yes. Installing a dash cam is more like a smart investment. You can use the recording as accident evidence, insurance benefits, protection against fraud, and parking surveillance.
Not necessarily. It depends on the type of dash cam and your comfort level with vehicle electronics. Plug-in dash cams are perfect for everyday drivers. Hardwired setups are better for safety and reliability.
Installing a dual-channel dash cam with parking mode professionally may cost $180. A DIY setup using a $30 hardwire kit and a free YouTube guide keeps the cost under $50.
Incorrect fuse tapping or poor wire routing can lead to power issues. For any wrongdoing, you’re on your own unless the product includes tech support.
Buying the best dash cam alone can’t get the job done. You must put the device properly within the car to capture the surroundings. That’s why precise installation is more than a simple tech upgrade.
You don’t have to become an installation wizard. Wolfbox dash cams keep the process easy with friendly designs, intuitive instructions, and plug-and-play setups. Installing requires minutes without sweating too much.