






WOLFBOX Brands
WOLFBOX Brands
You have come to the right place if you want to learn how to install dash cam properly in your vehicle. Installing a dash cam will let you record important driving events and protect you from fake claims. Many drivers want to know how to install dash cam wire so that the cables do not show or there is no need for a cigarette lighter. This guide will show you how to install things in a way that is both clean and effective and what tools you need and how to do it step by step.
Table of contents
The dash cam records what is going on the road ahead of you, so if you get into an accident, you can show what really happened. This video can help your insurance claim and show that you are telling the truth if there is an accident.
Your dash cam can record break-ins or damage attempts even when your car is parked. You will have a better chance of finding the person who did it when they are caught.
Going over the video from your dash cam will help you become more aware of how you drive. You can see where you went wrong and be safer next time.
When you are on a long drive, your dash cam can record beautiful views and keep you safe from accidents. It helps if you like to keep track of road trips and find drivers who are not paying attention.
You may also get a discount on your insurance if your car has a dash cam. Your camera will help you show that you are a careful driver for lower rates.
Being sure that your dash cam is always on will make you feel calm. You can always record everything with your car's camera, whether you are moving or just parking.
A dash cam that is not properly placed might not record well or might fall off while you are driving. It is safe to keep your setup and car when you know how to install a dash cam the right way.
Dash Cam Unit: This is the main camera that you usually put on the windshield to record what is going on in front of you.
Rear Camera: If you install both front and rear cams, you can use it to record what is behind your car.
Power Cable: These are used to connect your camera to the power source, often the fuse box or cigarette lighter.
Long Video Cable: They are needed for dual-camera systems to link rear cam to the front unit.
Trim Removal Tool: Makes it easier to hide wires without scratching your car’s trim.
Cable Clips and Zip Ties: These keep wires in place for a neat finish.
Fuse Tap Kit: This kit will help the camera connect to the fuse box safely without harming your car’s circuits.
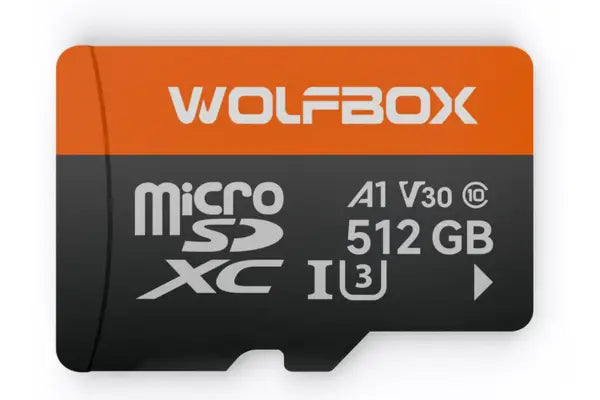
MicroSD Card: They are used to store your dash cam footage so choose a high-quality one with good write speed.
Alcohol Wipes: Use these to clean surfaces before sticking mounts.
Screwdriver: It will help if your camera or mounts need screws.
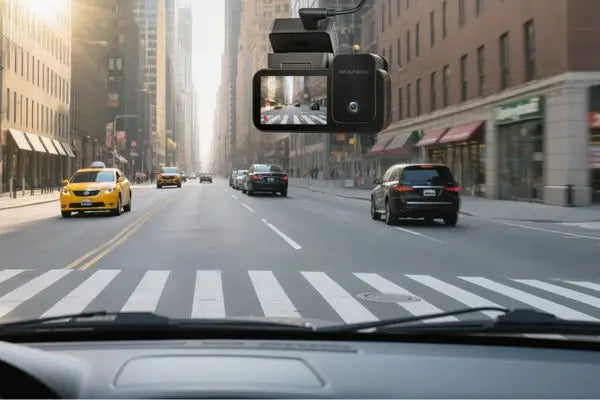
You should decide where you'll install each camera. For the front cam, you can install it just behind the rearview mirror to stay out of your line of sight. For the rear cam, you should aim for the center top of your rear windshield which will let your camera capture a wide view.
Use alcohol wipes to clean your windshield. Peel off the adhesive tape on the mount, then press the camera onto the glass firmly. Let it stick for a few minutes before adjusting.
Clean the rear windshield just like the front. Mount the rear cam near the top center. Try not to block the defrost lines. Once it's placed, check the angle so you get the best view.
Connect the video cable to your front unit. Then run it to the rear by tucking it under the headliner, along the A-pillar, under the door seals and finally to the rear window. Use clips and ties to hold it steady.
Read more: How to Install a Rear Dash Cam
You can power your dash cam in two ways. Either plug it into the cigarette lighter or hardwire it to your fuse box using a fuse tap. The second method gives a cleaner, hidden look.
Use your trim tool to tuck power and video wires along the trim. Avoid airbag paths. Secure the wires with zip ties and clips so nothing hangs or dangles.
Start your car. Your camera should turn on automatically. Check the screen for both front and rear feeds. Adjust camera angles if needed.
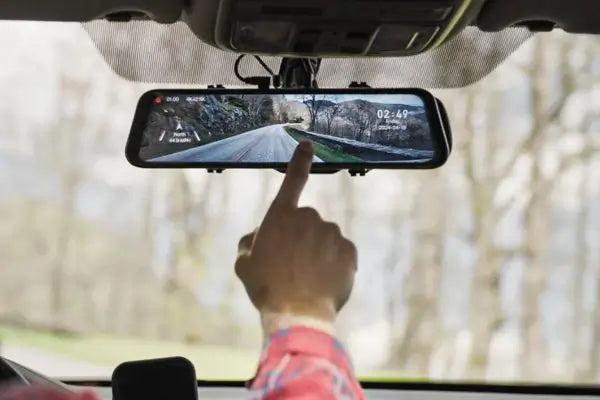
A mirror dash cam clips over your existing rearview mirror. Some models also replace the mirror completely. These cameras display footage on a digital screen built into the mirror itself.
Align your mirror dash cam over your factory mirror. Use the included rubber straps or clips to hold it firmly in place. Check the screen alignment.
If your mirror cam includes a rear camera, install it on the back windshield and connect the video cable of the rear cam to the mirror dash cam.
Use trim tools to run the cable from the rear cam to the mirror cam neatly and tuck wires under the roof lining or along door frames.
Plug it into the cigarette lighter or hardwire it to make sure the screen lights up and shows both views.
You want your dash cam installation to look clean. Here's how to get that factory-installed look:
If you want to go for a cleaner look, you can skip the cigarette lighter and try these options
Use a fuse tap kit to connect your dash cam directly to your car’s fuse box. This method powers your cam automatically when your car starts.
Plug an adapter into your car’s OBD-II port that will power your dash cam safely without the need for a hardwiring kit.
Use an add-a-fuse kit to draw power directly from the fuse panel and match it to an accessory circuit.
Some drivers use high-capacity power banks with USB output. While not permanent, this keeps things wireless.
Some mirror cams draw power from the rearview mirror's existing power line for which you’ll need a compatible connector.
If you do it yourself, you only pay for the camera and maybe a fuse tap kit. Installing it yourself will cost you anywhere from $80 to $250.
Pro services charge $100 to $200 for labor. You pay extra for cable hiding and a dual-camera setup.
Adding a rear cam to an existing setup can cost another $50 to $150, depending on your car’s size and cable needs.
A hardwire kit adds $15 to $50 to your total cost and saves your cigarette lighter for other uses.
Brands like Wolfbox offer complete dash cam kits. These often include both cameras, cables, and tools, starting from $100 and up.
When you know how to install a dash cam, it will give you better safety, more evidence and a cleaner look. From how to install mirror dash cam models to how to install dash cam wire the neat way, every step matters. Whether you are using a cigarette lighter or want to know how to install dash cam without cigarette lighter, your Wolfbox dash cam setup can be smooth and hassle-free. Get the tools, follow the guide and enjoy peace of mind every time you drive.
Are dashcams easy to install?
Yes. Most dash cams need just a mount, a power source and a few hidden cables.
Can I install a dashcam by myself?
Absolutely. With basic tools and some time, you can install your dash cam without hiring a professional.
How long does it take to install a dashcam?
Front-only setups take 30–45 minutes. Dual cam systems may take up to 90 minutes.
Where is the best place to put a dash cam?
Mount it behind your rearview mirror to avoid blocking your view and record the full road ahead.