







WOLFBOX Brands
WOLFBOX Brands
It may seem difficult to install a mirror dash cam, but it is not. Setting up your camera and using it to improve your driving experience is easy if you have the right information and tools. Drivers love mirror dash cams for a variety of reasons, including improving road safety and recording special times on the road.
This guide will walk you through everything, from what a mirror dash cam is to a step-by-step installation guide. Feel free to follow along as we explain how to change the way your car's tech works.
Table of contents
With a mirror dash cam, you get both a rearview mirror and a dash cam in one item. It can fit over the rearview mirror on your car and has features like live video recording and showing what's behind you. This is why a lot of drivers like it better than regular dash cams.
A mirror dash cam is made to fit perfectly on your car's current rearview mirror, making it look like it was always there. In other words, there won't be any big items sticking out or getting in the way of your view. It's an easy and clean way to get new technology for your car.
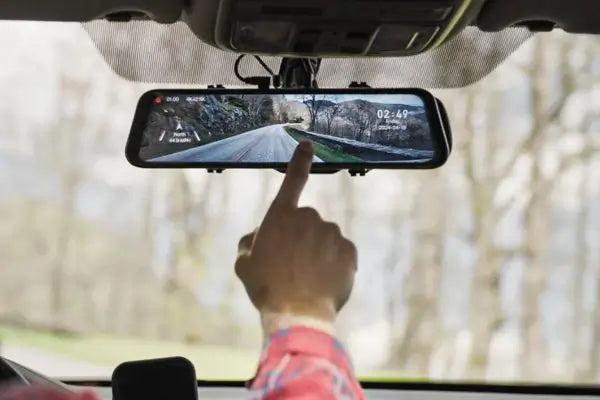
A mirror dash cam gives you a live-streaming screen that shows your rearview more clearly and in more space than a regular mirror. This lets you see more of what's behind you which makes driving and backing up safer and gives you more drive.
When you drive, most mirror dash cams have both front and back cameras, so you can record everything going on around you. For extra safety and peace of mind, this gives you full coverage, even when you're parking in a tight spot or driving on a busy street.
A lot of mirror dash cams have touchscreens that make it very easy to change settings, view videos and even watch records right on the camera. You don't have to deal with tricky controls or menus because this interface is so easy.
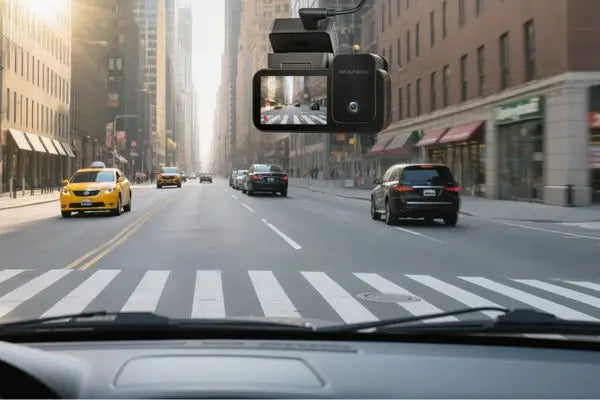
Traditional dash cams need to be mounted on the windshield and can clutter your view with cables and suction cups. A mirror dash cam, on the other hand, mounts directly to your rearview mirror. It blends seamlessly with your car’s interior and keeps your field of vision clear — no dangling wires, no distractions.
Your car's rearview mirror can hold a mirror dash cam, which makes setting it up quick and easy. A regular dash cam has to be mounted directly on your window, which might feel more invasive. This one is much easier to set up.
A mirror dash cam doesn't need a separate screen because the screen is built into the mirror. On the other hand, a normal dash cam has a separate screen that you put on your dashboard or windshield. This can make your car smaller.
Because the mirror dash cams attach directly to your rearview mirror, power cables and rear camera wires are easier to route along the car’s trim or headliner, keeping your dashboard clean and uncluttered. While standard dash cams can also support clean wiring, their placement often requires more visible cable management.
Tool |
Purpose |
Mirror Dash Cam |
Obviously, this is the core of your setup. Wolfbox offers high-quality options. |
Hardwire Kit |
Needed to power your cam directly from your car battery for a cleaner look and parking mode. |
Plastic Pry Tool |
Helps hide wires beneath vehicle trim without damaging the interior. |
Phillips Screwdriver |
For securing screws during camera and mount adjustments. |
Zip Ties |
Keeps excess wiring organized and tangle-free. |
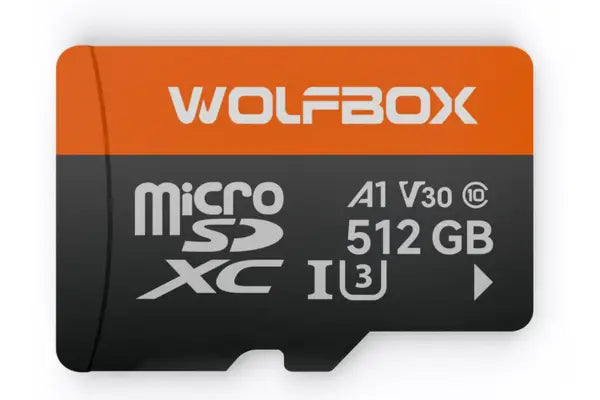
MicroSD Card |
For saving footage and camera settings. |
Put your dash cam on top of the mirror behind your rearview mirror. You can use the clips to secure it tightly over the mirror. The dash cam shouldn't move around while you drive, so make sure the clamps are tight.
Install the rear camera on the inside of your back windshield. You can place it in the upper center for the best view of the road behind you. Use the adhesive stickers or screws provided to attach the camera securely. Make sure it is securely mounted so it won’t fall off.
Fold the wire for the rear camera up and tuck it along the inside edges of your car. Start by routing them at the back of the car and work your way forward. You can use the headliner (the ceiling edge of your car) to hide the wires. For a neat fitting, you can use a plastic pry tool to help push the wires into small gaps.
Use the hardwire kit to connect the dash cam to your car’s fuse box. This allows the dash cam to stay powered and use parking mode. You can also plug the dash cam into the cigarette lighter socket in your car. Make sure the connection is secure and the power cable is not loose.
Look for a microSD card that is compatible with your dash cam and insert it into the card slot on your mirror dash cam. Check the user manual to make sure you are using the correct card capacity.
Adjust the angle of the front camera so it captures a clear view of the road ahead. Check the back camera the same way to make sure it can see the road behind you. After all the checks, you can turn on the dash cam and check if it is recording properly. You can explore the settings to adjust features like resolution or recording mode for the best results.
It is generally easier to install dashcams in sedans. The rearview mirror mount is easy to access and the wiring can often be routed through the headliner and down the A-pillars, but you should check the visibility of the camera after installation.
It can be difficult to mount and wire dashcams in SUVs because they have higher windshields. You might need extra cable length for this and secure the wiring in a different way so you can cover the larger cabin size.
Trucks have more space between the windshield and the rearview mirror which means you will need longer cables. The installation may also be more challenging due to the vehicle’s height, but you might have to take extra care when routing wires through the headliner.
It is very easy to install a mirror dash cam than you might think. Whether it is about better visibility, dual recording or less clutter, this simple guide will help you with everything.
Do you want a reliable mirror dash cam for your car? You can check out Wolfbox dashcams and take your driving experience to the next level. Yes, most mirror dash cams are compatible with almost all vehicles. They are designed to fit standard mirror sizes, so you can use them in cars, SUVs, and more.
Can I install a mirror dash cam myself?
Yes. You can easily install a mirror dash cam yourself. It is very simple and you can follow the steps mentioned with your dash cam to install it properly.
Do I need to remove the original mirror?
No, you don’t need to remove your original mirror. Mirror dash cams are designed to clip securely over your existing mirror using adjustable straps or brackets. Installation is quick and non-invasive, making it easy to upgrade without altering your vehicle's original setup.
Is hardwiring necessary for parking mode?
You should use a hardwire kit if you want to use parking mode because with that, your car will get power even when your car is off. This will make sure your dash cam is always ready to record when needed.
Can I install a dash cam myself?
Yes. You can install a dash cam yourself if you have basic tools. The main thing you have to take care of is to follow the instructions of manufacturer and take your time to hide the wires properly.